Friday, July 26, 2013

Friday Favorites: Sabra, Wallet Patterns, and a Scrap Fabric Pillow

From a post by Sabra to our new video featuring a pillow sewed with scrap Fabric, it's been quite a week! We even have a new wallet pattern available for you to try your hand at!

Sabra has posted her update and boy, has she been busy! She used this pattern to make these lovely wallets!

Sabra: "I must say the Wonder Wallet pattern by Lazy Girl Designs is one of my favorites! It's so fast and easy, and uses so little fabric, I make one to go with every purse from the scraps I have left over. I also love that they hold loose change, and the change doesn't fall out!"

Here's an image of the pattern. It's available at Fabriclovers.


A special thanks goes to  Joan from Lazy Girl Designs! She mentioned us on her Facebook and Twitter pages. Check out her Facebook page!

Another thanks goes to one of our fans for pointing out that the image used in our Rotary Cutter post was wrong. Please see her video on how to properly hold a cutter without hurting yourself.


I've finished my second project. I created a pillow using the scraps left over from my very first quilt. You can see the video detailing the finishing touches below.


Want something to help you procrastinate? Please follow us on TwitterPinterestFacebook and/or comment below on things you'd like me to feature or talk about!
~Yasmine

Thursday, July 25, 2013

What's Sabra Up To Now?


Hi everyone! Even though it’s been a few months since FabricLovers has transitioned from my hands to the new owners’ hands, I wanted to “pop in” and let you know what has been going on.

Wonder Wallet for Mexico
First off, for those who don't know me, I'm the original owner/creator of FabricLovers.com. I’m really excited about the energy and creative ideas that Beth, Dean, and  Yasmine have been incorporating into the company. They are bringing some fresh perspectives and are working hard to find the best fabrics and patterns to offer you. I like where they are headed, and I think you will, too! I know they are always looking for your comments and suggestions, so if you have something you’d like to say, be sure to leave a comment below.


Love my Wonder Wallets!
Even though I’m no longer running FabricLovers, I am still involved with it--it is my baby, after all!  I’ve been helping to bring Beth and Dean up-to-speed with the business, discussing how to make things run smoothly, and offering support in any way that I can. I am very thankful that they are serious about making it work and are committed to the business. It’s nice to know that FabricLovers will be around for a long time, and I look forward to shopping there myself!


 Now that I'm not working full time at FabricLovers, I’ve been able to get back into sewing, and I’m enjoying finishing projects that have been waiting too long to get done. Take this quilt for example.  This fabric came through the shop many years ago, and I just loved it, and now I’m finally able to do something with it. I’ve finished the top, and will be using this as a wall hanging.

Tried some fancy trim and stitches
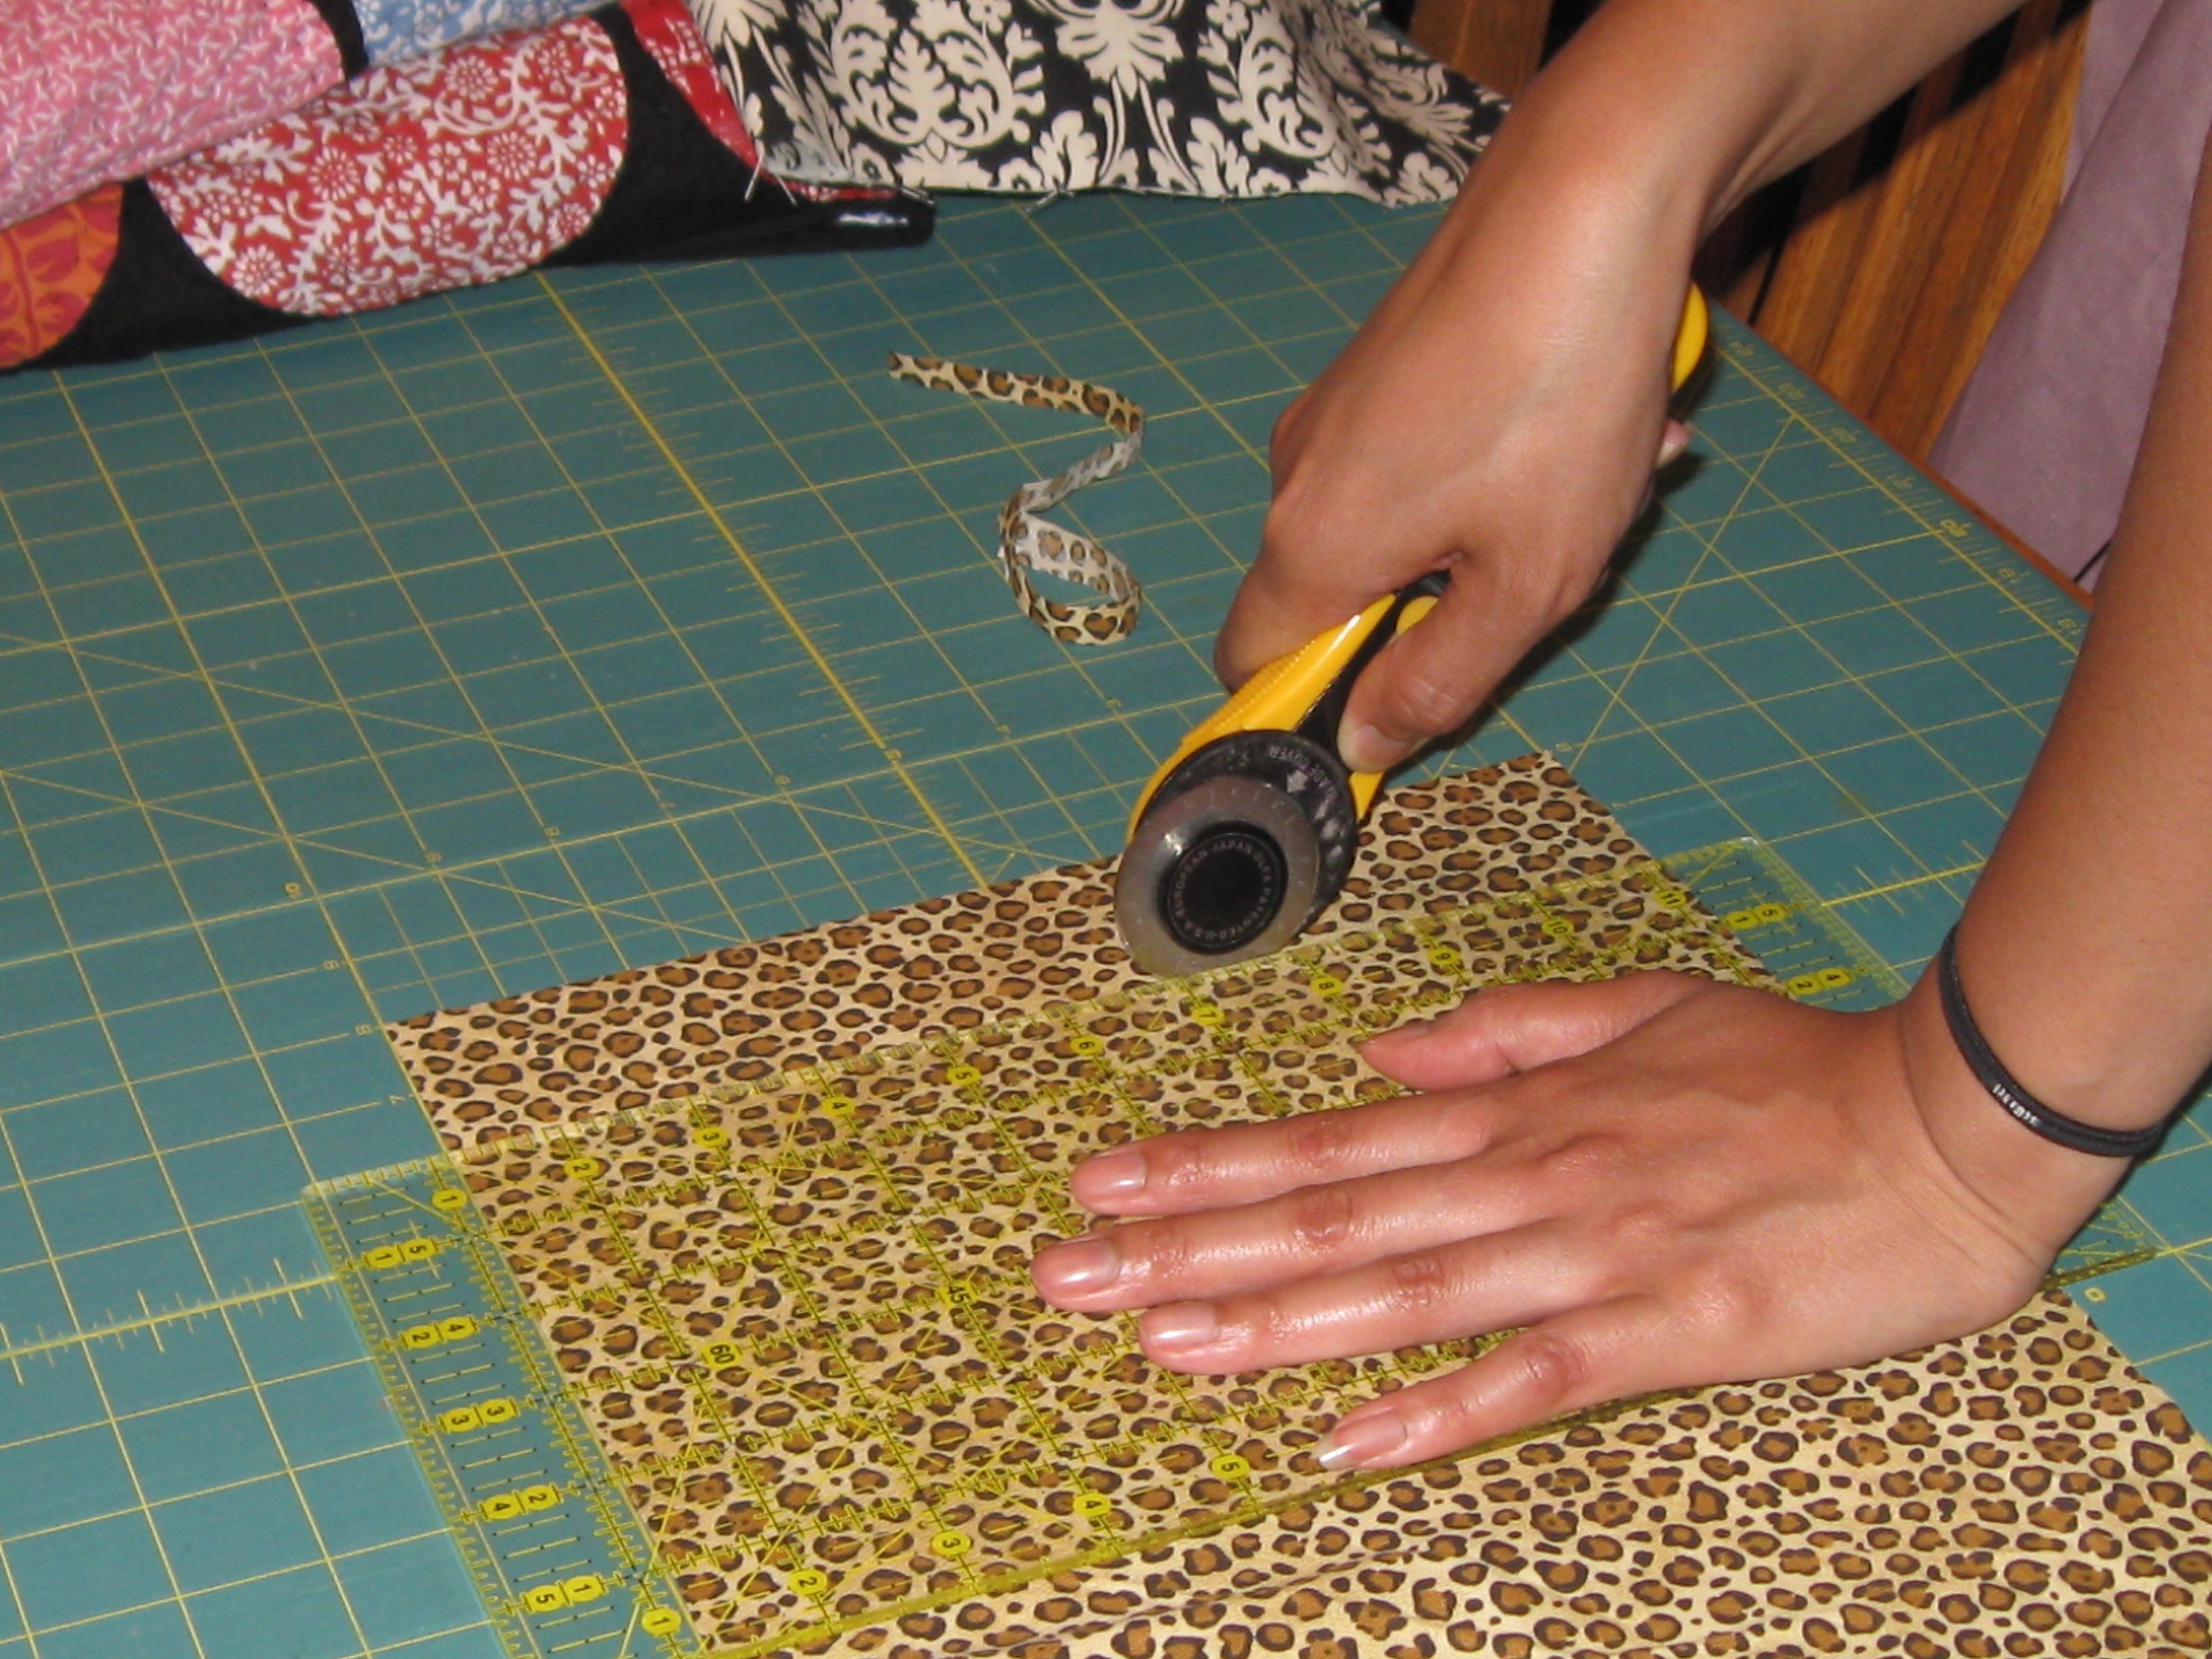
I’ve also completed the Wonder Wallets pictured above and to the right.  I must say the Wonder Wallet pattern by Lazy Girl Designs is one of my favorites! It's so fast and easy, and uses so little fabric, I make one to go with every purse from the scraps I have left over. I also love that they hold loose change, and the change doesn't fall out! They are great travel wallets, but I find I use mine all the time, since I prefer to have less stuff to carry around. If you haven't tried a Wonder Wallet yet, you can get the pattern here; however, I must warn you--they are addictive! But they do make great gifts, so you'll always have a reason to make more. :-)

For my two newest purses, I thought the pink fabric would be perfect for our frequent trips to Mexico, plus I just loved the colors of the main print. I made the purple purse for our most recent trip to Costa Rica. Most of this fabric has been sitting in my closet for at least a year, so I’m happy to finally give it a new home!


One of the reasons we decided it was time to transition out of FabricLovers is that my husband and I will be moving to Costa Rica in four years—we’re just waiting for our youngest to graduate high school. We’ve fallen in love with Costa Rica, and have started up a new venture helping people discover how to live better for less in that beautiful country. That’s where our focus is now, and we’d love to have you stay in touch with us, and share in our journey, on our Facebook page, Blog, and/or Website. I know many of you already have, and it’s so special to see familiar faces—thanks! Also, we’re holding a Sweepstakes now through August 7th, so be sure to head over to our Facebook page and click on the “Win A Happier Book” icon to enter!

We just got back from another trip to Costa Rica, and thought you might enjoy this video we took at an animal rescue center there. The video is of our daughter and her friend holding baby Capuchin and Howler monkeys--and it ends with a surprise!


Well, that’s it for now, but I’m sure it won’t be the last you’ll be hearing from me as I will be commenting occasionally on the FabricLovers blog or Facebook page. I look forward to continued interaction with all of you! 

---Sabra

Wednesday, July 24, 2013

Scrap Fabric Pillow: Finished!

My pillow made of leftover fabric is finished! I really enjoyed this simple sewing project and can't wait to get started on more.

Here's the video on how I stuffed and closed the pillow. As always, if you have any suggestions on what I can do better, let me know. I'm learning to sew as I go and could use a few tricks that are probably up your sleeve!


 Wondering how I started making the scrap fabric pillow? Check out the first video:


I loved this sewing project because, unlike the quilt, it only took me two sessions, was made with leftovers from a previous project, and can be used anywhere in the house, from the sofa to my daughter's room! The floral design isn't overwhelming and I just adore the baby pink and lime green on the back.

Want something to help you procrastinate? Please follow us on TwitterPinterestFacebook and/or comment below on things you'd like me to feature or talk about!
~Yasmine

Monday, July 22, 2013

Rotary Tool Safety Tips

Since purchasing my first rotary cutter, I realized that there's a lot of safety concerns when using it. A rotary cutter is perfect for streamlining the prep work before beginning to sew. Similar to a prep chef having sharp knives to cut the veggies and meats before the actual cooking gets started.


1. Purchase one with a safety. I didn't see any without a safety switch when I went to purchase mine but if you're in a hurry, you might get one without it. Don't do it! A safety shield will help prevent unwanted emergencies, especially if you have kids, animals, or even a roommate who wasn't paying attention.

2. Keep the safety shield closed, when not in use. I found that I have a bad habit of leaving it open after making a few cuts. This is bad. I wouldn't want to accidentally brush my hand on the blade and get cut. It's good practice to keep it closed after making a cut. There are some rotary cutters on the market that have a sort of trigger that you hold when cutting and release when finished. It pushes the blade out and in automatically.

3. Handle replacement blades properly. I haven't had to replace a blade yet but I already know to be careful. When in college, the students were constructing an elaborate project in which we used foam core. I used an exacto blade and continuously changed the dull blade without being careful. Needless to say, my foot was not happy about stepping on one of them. Be careful! Apparently  many cutter blades are replaced by taking the nut and washer off. I will likely be wrapping masking take on the edges to avoid cutting myself while changing the blade.

4. Dispose of the rotary blades properly. Don't just toss them in the garbage! Wrap them up in paper and heavy duty tape or, if available, put them in the plastic container that the replacement blades came in. Place them in a trash can where children and pets don't have access.

5. Cut away from yourself and avoid crossing arms. This means you don't cut "backwards" and that you don't hold the ruler (if right-handed  with your left hand and cross your arms to cut on the left side of the ruler. Simply turn the fabric and reposition.

6. Cut while standing. I found that it was ten times easier to apply the correct amount of pressure if I was standing.


7. Use a ruler and cutting mat. Don't ruin a decent table top just because you didn't want to get a cutting board. You also want a ruler to help guide your cut as well as keep it straight.

8. Watch your fingers!

Have any tips of your own? Let us know in the comments below and we might show your comment on our Facebook and Twitter!

Want something to help you procrastinate? Please follow us on TwitterPinterestFacebook and/or comment below on things you'd like me to feature or talk about!
~Yasmine

Friday, July 19, 2013

Friday Favorites: Scrap Fabric, Sewing A Pillow, and My Next Project

It's finally Friday! I finally used up the leftover fabric scraps from my first quilt, found a video on the basics of cutting, and am planning my next project! Productivity has been my middle name this week!

I decided to make a pillow from the scraps of fabric I had leftover. What would go better with the quilt than a small pillow, right? The pillow isn't stuffed yet. I can't wait to finish it!

You can watch me sew on my mom's machine here:


I also got my first rotary cutter and I love it. I had no idea how easy (and accurate) it would make everything! Love, love, love it. But then I realized that I needed to know the basics of cutting, just in case. So I came upon this great video:


Want to save money and stock up on fun holiday/Christmas fabric? Fabric Lovers is currently holding this lovely Gingerbread House fabric on sale! Check it out!


So after I finish the pillow, what's next? I really want to make another quilt but think a small project might be better until I get more practice. What do you think? Should I make a simple tote, another pillow, a table runner? So many ideas and so little time!

Want something to help you procrastinate? Please follow us on TwitterPinterestFacebook and/or comment below on things you'd like me to feature or talk about!
~Yasmine

Thursday, July 18, 2013

A Pillow From Scrap Fabric

After wondering what to make with the left overs of my first quilt, I decided to make a pillow. I was given great ideas, such as a cosmetic bag, safety kit, and so on. I then thought, why not just complete the quilt/nap-time ensamble with a simple pillow.


It's not stuffed yet but I think it looks great so far. What do you think? Any obvious mistakes? I do have to mention that I simply love, love, love, my rotary vutter. I had no clue what I was missing! It cut in half the time of scissors, straighter, and just overall better.

Want to see a video of me making the pillow? See below and down't forget to check out our youtube channel!


Want something to help you procrastinate? Please follow us on TwitterPinterestFacebook and/or comment below on things you'd like me to feature or talk about!
~Yasmine

Monday, July 15, 2013

Purchasing a Rotary Cutter

After making my first quilt and realizing that scissors just don't work well when there's lots of fabric to cut (my hand got tired) I finally decided to purchase a rotary cutter. I researched a bit before purchasing and this is what I found out.

Rotary cutters come in different sizes from about 18 mm to 60 mm in diameter. I was told, by a kind woman at the store, that the larger the blade, the easier it'll be to cut through fabric and that I only need the smaller blades to cut things that require curves.


As for the handles, companies seem to have their own version of ergonomics and I wanted to try them all out. Unfortunately, the store sold them packaged, so I used my imagination.

I learned that Rotary cutters should have a safety. All the ones I saw being sold offered this but I really hope that if you're in the market to purchase one, you'll search for one with the safety latch. I wouldn't want my 2 year old or anyone else getting cut.

I already have a self healing mat from my days as a product design student so I avoided purchasing a kit that included the rotary cutter, mat, and acrylic ruler. I wasn't sure if I would need an acrylic ruler though. I purchased a low cost one. Hopefully, straight cuts will give me straight stitches!

Eventually, I ended up buying a basic rotary cutter by Fiskars. It was within my budget and seemed basic enough for me to use. I plan on purchasing a blade sharpener in the future.


Want something to help you procrastinate? Please follow us on TwitterPinterestFacebook and/or comment below on things you'd like me to feature or talk about!
~Yasmine

Monday, July 8, 2013

Making Curtains for Marjorie


My mother in law Marjorie has spent her life sewing and quilting. She has made me countless curtains, quilts, placemats as well as mending and hemming some of my clothes.  Well, it's my turn to help her out and make a curtain for her kitchen.  Her kitchen has a lot of neutral colors, so I thought a nice pop of color in a cool print might be nice.  One of my favorite cotton fabrics by the yard is Citrus Slice by Michael Miller Fabrics.  How perfect for a kitchen!


She has a single small window above her sink so my first curtain should be easy (hopefully)!


My first step was to measure the width of the window.  Her window measured 30" wide. The directions I read said I would need to double the width plus add an inch for either side. That made my total width 62".  Then I measured the length of the window  (20") and added 2 inches.   That seemed pretty easy.  So I carefully cut my fabric! 

 
My first step was to turn in the sides of the fabric 1", pin and sew the sides.


My  next step was to turn the top of the fabric under 1 1/2 " pin and sew to create the 2" pocket for the curtain rod. 


I  decided I wanted to add even more color, (and actually a little more length) so I cho se a beautiful Kona Solid- Orange cotton fabric.  I cut a 3 inch strip of Kona Orange, sewed  (what I hoped) was a 1/4 inch seam, and sewed the raw edge of the fabric to the bottom of the curtain bottom. Then I ironed the seam.

The end result was a beautiful curtain that my mother in law said was flawless. HaHa!


 One thing I did learn is that sometimes directions are not flawless, and I need to think through what I'm doing and re read directions before starting.  The directions I had, told me to sew the top pocket seam first and then sew the sides.  Well, I did as directed, and when it was time to sew the side seams I had to stop where the pocket started, resulting in the pocket portion being a raw edge. Live and Learn!!  Sewing and quilting is an art; and a science!!!


Enjoy !,

~Beth
Beth@FabricLovers,com
855-MY-QUILT

Monday, July 1, 2013

My First Quilt: IT'S DONE!

I have learned many things both, about sewing and about myself, with this project. Quilting isn't as easy as it looks, I'm kind of lazy, and I don't have all the tools for sewing. I learned how to whip-stitch, although not well. And although the quilt isn't the most beautiful, I love it.


What was the toughest part? Learning to read instructions and not letting my ego take over. I kept thinking, I've sewing before, this is a piece of cake. Well, my amateur sewing skills quickly showed in this piece. I apparently find it hard to sew in a straight line without guides. I also forget simple, yet essential, sewing steps such as ironing out the fabric. I believe I stretched the binding when sewing it and perhaps that's what made it bunch up.


Overall, I love it and love the fabric. It's made of 100% cotton fabric in greens, pinks, and mustard tones. The floral fabric is lovely and I'm glad I made the strips as wide as I did to show off the design.

My 2 year old daughter likes the quilt but mostly I keep it away from fear that she'll put chocolate or some other sticky substance on it. It's not perfect but I love my first quilt!


Want something to help you procrastinate? Please follow us on TwitterPinterestFacebook and/or comment below on things you'd like me to feature or talk about!
~Yasmine