Thank you for your support this year, first and foremost.
This Monday starting at 8am we will mark down prices on fabric by the yard and sewing patterns for those last minute Christmas projects.
Link to Cyber Monday 2013 Fabric/Pattern Deals
Childrens Sewing Fabric, Fun Fabric Patterns, cotton quilting fabric are some of the items that will be in our Cyber Monday exclusive deals category.
Remember, items will be marked down no later than 8am on Monday, December 2, 2013.
Cyber Monday 2013 Fabric/Pattern Deals
We will be adding more inventory before Cyber Monday as well, so feel free to scope out what we have now by clicking on one of the links to our special category for Cyber Monday Fabric and sewing pattern deals.
Please forward or tell you friends about our Cyber Monday Sale !
Enjoy ! & Thank you,
Beth
www.FabricLovers.com
Beth@FabricLovers.com
855-MY-QUILT

Thursday, November 28, 2013
Wednesday, October 16, 2013
Sewing an Amy Butler Clutch Part 2
It's such a lovely clutch that I almost don't want to use it and get even a speck of dirt on it! The Amy Butler Clutch has been one of the easiest to sew. This article covers how to sew the exterior panels but if you'd like to see the beginning, please visit this post, or see this video.
After cutting everything, applying the interfacing, and copying markings on each piece (see part 1), it's time to get sewing. I used a plum colored thread that would blend in. If you want to add a pop of color, try a contrasting thread instead. Take one of your exterior main panels and make the lines at the top meet. Pin in place. Now sew down that small line. As you can see in the image below, this forms pleats. The image is of the wrong side of the panel.


Want to see the video? Here's the part 2. Did you miss part 1? Check it out at our youtube channel!
After cutting everything, applying the interfacing, and copying markings on each piece (see part 1), it's time to get sewing. I used a plum colored thread that would blend in. If you want to add a pop of color, try a contrasting thread instead. Take one of your exterior main panels and make the lines at the top meet. Pin in place. Now sew down that small line. As you can see in the image below, this forms pleats. The image is of the wrong side of the panel.

Iron the pleats so that they lay flat and baste a seam to keep them in place.

You can see in the image below what the wrong side looks like now. Do this for both of the main clutch panels.

The next stem is to take the trim and fold them in half the long way. Iron them to create the nice fold.

You will then pin them to the main panel (on the end with the pleats) and stitch it in place. Before sewing, I realized I had cut the trim from the wrong fabric. luckily, I had enough fabric leftover to cut out the correct one and then simply folded the trim in half, ironed, pinned it, and finally, sewed it in place. Learn from me and don't get distracted when cutting fabric. Measure twice, cut once!
I then attached the yoke, pinning it in place on top of the trim and main panel. Right sides together, I sewed it all together.

Below, you can see the trim in the correct fabric, sandwiched by the yoke and main panel.

Below, you can see what the clutch panel finally looks like. Do this for your other exterior panel as well.

Now you'll be pinning both exterior panels together, right sides facing each other. Match the dots you transferred over. Sew the panels together from the marking on the yoke, to that dot on both ends.

Take the bottom panel and pin it (right sides together) to one of the side exterior panels. Match the dots. Then you'll sew along that edge. This took me a while because I have a hard time sewing around a curve.

Do this for the other side as well.


This is what it will look like. If you turn it right side out, you might do a little dance of excitement like me. It's starting to come together!


The only thing left to do is to clip around the curve. Make sure you DO NOT CUT INTO THE SEAM! It will just make a hole in your lovely clutch!

Want to see the video? Here's the part 2. Did you miss part 1? Check it out at our youtube channel!
Wednesday, October 9, 2013
How to Sew An Amy Butler Clutch ( Part 1)
I recently got the chance to sew the Amy Butler Charm Clutch and I'm very glad I did! Have you ever looked and looked for the perfect purse but can never seem to find it in the perfect style of color? Sewing your own, from a pattern or your own idea, is a great solution and not hard at all. With patterns, you can simply choose a style that you like and then order the fabric you want. It will match any dress, mood, or pair of shoes you own!

The Amy Butler Charm Clutch Pattern comes with a couple options. These range from handles to using a magnetic closure versus a zipper. I chose the latter to make sure items stay inside. The design also gives the option of adding an interior pocket panel and a cell phone pocket.
I received the fabric and pattern is this lovely package via the mail. The fabric was wrapped like a present in happy yellow tissue paper rather than simply being tossed into a box.


For the fabric, I chose these lovely florals that had a plum/burgundy type of base. The first one (left most on the image below) is called Honoka Kiku Claret which had Japanese Style Flowers on a Claret Background. The center of the flowers are a mustard while the details are in the plum color. The second fabric is called Honoku Japanese Blossom created by Anna Griffin. The center is almost a coral color with the lovely plum background. Both fabrics are perfect for fall!


Some think that using a pattern can get complicated with lots of pieces, terms, and instructions that make you wonder if you should retake your 5th grade reading class. This Amy Butler pattern is simple, came in a few pieces, and had easy to understand instructions with diagrams.

After opening the package, and squealing with delight, I set about reading the instructions and making sure I had all my materials ready. The back of the mini folder, where the pattern is contained, lets you know what you need. I purchased a zipper, interfacing of two types, and thread. A few things I had to dig out were: mat to cut on, rotary cutter, scissors (for thread, fabric, and paper), marking utensil, a ruler, and my sewing machine. A few extras? Coffee and music, great for making creative projects! Watch the video below if the following instructions don't really make sense.
The next step is to put your lovely fabric into the washer machine. I washed and dried mine as I normally would any 100% cotton fabric. While I waited for that, I cut out all the paper pattern pieces. Make sure to consistently cut around the items. Don't veer into, or outside the lines since it could cause issues later.
Once the fabric is dry, iron it, then snip off all the threads that have come loose on the ends. Finally, you get to actually cut your fabric and interfacing! BEFORE CUTTING: line up all the paper pieces on the corresponding fabric. If you're lining is a different fabric, make sure your lining paper is on that specific fabric. Double and triple check, pin the paper down, and cut. Mark all the extras such as dots that indicate starting and stopping points, lines for pleats, and measurements.
Now take your interfacing and get ready to cut it too. You can either cut them using the same method above or you could do what I did and iron on the interfacing onto the cut pattern pieces. Then cut around them.
Now take your interfacing and get ready to cut it too. You can either cut them using the same method above or you could do what I did and iron on the interfacing onto the cut pattern pieces. Then cut around them.
Now take a break, refill your coffee cup, and move on to part 2! That's where I'll explain how to sew the exterior portion of the clutch. If you'd like to get ahead go to our youtube channel and watch the videos: FabricLoversChannel.
Here's what my completed clutch looks like from the outside:
Here's what my completed clutch looks like from the outside:


If you have any questions or comments, please leave them in the comment section, on youtube, our Facebook page, or tweet them to us! Thanks for reading and have a great time sewing!
~Yasmine
Friday, October 4, 2013
Breast Cancer Awareness Month Pink Tote Bag..( Very Limited Edition)
SailorBags.com and FabricLovers.com are donating all proceeds from the sale of our pink medium tote while they last.
SailorBags is donating their wholesale proceeds to the American Cancer Society and we are donating our receipts received over cost to the Stefanie Spielman Fund here in Columbus, OH.
There are a very limited number of these special Pink Tote Bags left nationwide. You can purchase from us or directly from SailorBags website. Buy a pink sailcloth bag for $53 plus shipping and know that you are helping the cause totally.
These Limited Edition pink medium sailcloth totes will not ship until mid October 2013. You must preorder.

To purchase from FabricLovers.com click on this link. Fabriclovers.com
To purchase from SailorBags.com click here. SailorBags.com
If you have any questions, click the link to our website or call or email me.
Enjoy!,
~Beth
Beth@Fabriclovers.com
855-697-8458
SailorBags is donating their wholesale proceeds to the American Cancer Society and we are donating our receipts received over cost to the Stefanie Spielman Fund here in Columbus, OH.
There are a very limited number of these special Pink Tote Bags left nationwide. You can purchase from us or directly from SailorBags website. Buy a pink sailcloth bag for $53 plus shipping and know that you are helping the cause totally.
These Limited Edition pink medium sailcloth totes will not ship until mid October 2013. You must preorder.
To purchase from SailorBags.com click here. SailorBags.com
If you have any questions, click the link to our website or call or email me.
Enjoy!,
~Beth
Beth@Fabriclovers.com
855-697-8458
Wednesday, September 4, 2013
What Is Sailcloth And How Do You Care For It?
Ever wanted to feel like a sailor, waterman, or even water lady? Sailcloth might be the cloth for you. I recently found out that this type of fabric is perfect for those of you that love to be on and around water. SailorBags were originally designed to meet the tough standards of sailors, but now have become popular for their fashionable yet practical features. FabricLovers has just started carrying a wide variety of SailorBags including laptop bags, totes and duffels perfect for keeping all your belongings clean, dry and organized.
The Free Dictionary defines sailcloth as "a heavy cotton canvas or strong synthetic fabric used for making sails or tents." Essentially it's cloth that was designed to be used as sails. Sailcloth was normally made from flax, hemp or cotton in various forms including canvas. The word "duck" is usually used when talking about sails. This is because, according to Wikipedia, the Dutch word for cloth is "Doek". When made of linen (flax), the sailcloth had poor resistance to the elements and would rot, be destroyed by the UV light, and absorb water.
Because cotton was indigenous to the U.S., that's what we typically used for sails, but it didn't become popular worldwide until the use of sails started coming to an end. It was late in the 20th century when synthetics started being preferred Modern sails are made from synthetics such as nylon, polyester to aramids and carbon fibers. Cotton sailcloth though, is still used for upholstery, draperies, sportswear and anywhere a heavy duty cloth is required.
Some companies offer recycled sailcloth items, which have been somewhat deteriorated by the elements but SailorBags is a manufacturer that uses their own custom-woven sailcloth while leaving out the resins and chemicals that would ultimately make the cloth stiff and unusable. All the cloth and components are new, not used and deteriorated.
What's also unique about these products is the water-resistant factor. Obviously, any product that has seams will not be completely water proof but SailorBags uses the cloth on the outside as well as a lining that has been coated to be waterproof. Since the bags are made to be around salt water, the zippers are made of marine grade plastic.
Personally, I think the best part is that SailorBags (with the exception of insulated or padded bags) can be washed on a gentle cycle, with any detergent (as long as it's not bleach). It can also be dried on a low heat although I typically prefer to simply hand my bags upside down. Sailorbags also states that you can pre-soak in dishwasher detergent (about 1/2 cup) with a gallon of water. Then simply add a little vinegar to the final rinse.
SailorBags would be perfect for a high school or college student. They tend to fill their bags and travel more frequently. I remember being in school and having to purchase two backpacks a year because they'd either become so dirty that nothing would fix it or tear easily. My favorites:
The durable red computer bag is made from genuine sailcloth and is as fashionable as it is durable. The linings are waterproof to help keep your laptop safe (Again, think busy college student).With a padded compartment that will hold up to a 17" laptop, an interior section zips closed for important papers and files and two slip in side pockets that are big enough for paper and magazines there is tons of room in this bag. Like all Sailor Bags there are plenty of interior pockets to keep small valuables such as wallets, cell phones and keys safe. Also included is a comfortable shoulder strap. If you are looking for a durable, function-able computer bag, this is for you!
This white large square Duffel Bag is made from a double layer of genuine sailcloth with a waterproof lining. This duffel is made to be tough and to keep contents dry. This duffel is large and meant to carry a weeks worth of clothes. There are plenty of interior pockets and one on the inside too, as well as a shoulder strap for easy carrying. I love this one because I hate carrying lots of different bags when on a road trip. With a bag like this, I simply stick all of my clothing options, makeup, and even a couple pairs of shoes. Perfect!
This blue durable backpack is made from genuine sailcloth and has three large compartments-all with waterproof linings. Handy pockets to keep valuables safe, there is also an outer mesh pocket to keep water bottles or shoes. Great for school, this backpack has plenty of room for textbooks and binders plus room for sports gear and lunch. Wide padded straps and back panel make this pack perfect for all day use.
Whether it's a backpack, tote, duffel bag or messenger bag; FabricLovers has the perfect SailorBag for you!
~Yasmine
Because cotton was indigenous to the U.S., that's what we typically used for sails, but it didn't become popular worldwide until the use of sails started coming to an end. It was late in the 20th century when synthetics started being preferred Modern sails are made from synthetics such as nylon, polyester to aramids and carbon fibers. Cotton sailcloth though, is still used for upholstery, draperies, sportswear and anywhere a heavy duty cloth is required.
Some companies offer recycled sailcloth items, which have been somewhat deteriorated by the elements but SailorBags is a manufacturer that uses their own custom-woven sailcloth while leaving out the resins and chemicals that would ultimately make the cloth stiff and unusable. All the cloth and components are new, not used and deteriorated.
What's also unique about these products is the water-resistant factor. Obviously, any product that has seams will not be completely water proof but SailorBags uses the cloth on the outside as well as a lining that has been coated to be waterproof. Since the bags are made to be around salt water, the zippers are made of marine grade plastic.
Personally, I think the best part is that SailorBags (with the exception of insulated or padded bags) can be washed on a gentle cycle, with any detergent (as long as it's not bleach). It can also be dried on a low heat although I typically prefer to simply hand my bags upside down. Sailorbags also states that you can pre-soak in dishwasher detergent (about 1/2 cup) with a gallon of water. Then simply add a little vinegar to the final rinse.
SailorBags would be perfect for a high school or college student. They tend to fill their bags and travel more frequently. I remember being in school and having to purchase two backpacks a year because they'd either become so dirty that nothing would fix it or tear easily. My favorites:
 Red Computer Bag
The durable red computer bag is made from genuine sailcloth and is as fashionable as it is durable. The linings are waterproof to help keep your laptop safe (Again, think busy college student).With a padded compartment that will hold up to a 17" laptop, an interior section zips closed for important papers and files and two slip in side pockets that are big enough for paper and magazines there is tons of room in this bag. Like all Sailor Bags there are plenty of interior pockets to keep small valuables such as wallets, cell phones and keys safe. Also included is a comfortable shoulder strap. If you are looking for a durable, function-able computer bag, this is for you!
 Large Square Duffel
This white large square Duffel Bag is made from a double layer of genuine sailcloth with a waterproof lining. This duffel is made to be tough and to keep contents dry. This duffel is large and meant to carry a weeks worth of clothes. There are plenty of interior pockets and one on the inside too, as well as a shoulder strap for easy carrying. I love this one because I hate carrying lots of different bags when on a road trip. With a bag like this, I simply stick all of my clothing options, makeup, and even a couple pairs of shoes. Perfect!
 Blue Sailcloth Backpack
This blue durable backpack is made from genuine sailcloth and has three large compartments-all with waterproof linings. Handy pockets to keep valuables safe, there is also an outer mesh pocket to keep water bottles or shoes. Great for school, this backpack has plenty of room for textbooks and binders plus room for sports gear and lunch. Wide padded straps and back panel make this pack perfect for all day use.
Whether it's a backpack, tote, duffel bag or messenger bag; FabricLovers has the perfect SailorBag for you!
~Yasmine
Saturday, August 24, 2013
How to Sew a Flat-Felled Seam
Do you need a strong seam that will hide the fraying edge of the fabric? The Flat-Felled Seam is perfect for this because unlike a French Seam, it uses a double line of thread to hold the piece together versus just one. The flat-felled theme is typically used in sports garments since they require extra strength and reversible garments because it's a finished edge on both sides.

1. To begin the flat-felled seam, place the fabric pieces on your sewing table or surface with the wrong sides together. In the video you can see I marked mine with a "W" to show which side was the wrong side. If your fabric doesn't have a wrong side, even better! I used some scrap fabric but if you're using large pieces, it may be helpful to pin everything in place.
2. Sew a plain seam (I used 5/8 inch seam allowance) and then press it to one side. I then fold over both those edges and sew a seam of about 1/4 inch. While folding it over I ironed to to keep it in place. You can also pin your fabric if that helps.
3. Using the needle as a sewing guide, stitch the edge of the fold through all the layers of the fabric.
And your done! I haven't tried to do this type of seam on a curve but would imagine it be too hard and get too bulky. One thing I did wrong is not holding both sides out enough when sewing step 3. As you can see in the image, the fabric on one side bunches somewhat.

This seam is fairly simple and provides a great finished edge for many projects. Now you don't have to work around those fraying edges!
What do you think? Did I miss anything? If you have any questions or tips, please don't hesitate to comment or email me at Yasmine@FabricLovers.com
Wednesday, August 7, 2013
How to Store Fabric
I tend to be the kind of girl that tosses her clothes onto the bedroom chair and lets it get higher than the rockies before actually putting it away. Same goes with fabric scraps. You know, those pieces of fabric that you can't really toss but can't really see yourself making a project with yet. Or maybe, like me, you get gifted fabric scraps from friends who are cleaning out their basements.

However you got them, you're now left looking for a way to store them. Luckily, I was able to stack mine in our linen closet, but you can try these tricks if your home is even smaller than mine.
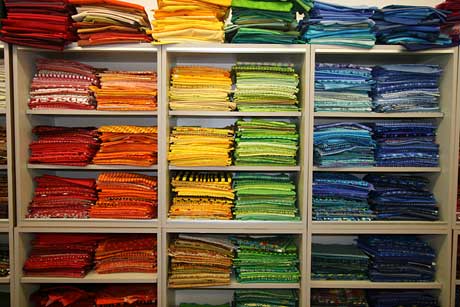
1. Shelves and drawers: The simplest solution is to fold them nicely and place them in shelves or drawers. This might require you to find new homes or donate whatever was in that space to begin with but now you've got a little sanctuary for your fabric. Make sure to keep like with like. Try not to mix cottons with polyesters. You can even take it a step further and sort them by color or theme.
2. Under the bed storage: Although we didn't use these for fabric, we use them for items that don't get used in the current season. For example, under our bed, our container holds our heavy sweaters for winter. You can get them anywhere like Walmart.
 3. If you're really into sewing, you might want to create some mini bolts like Missy from The Little Green Bean.

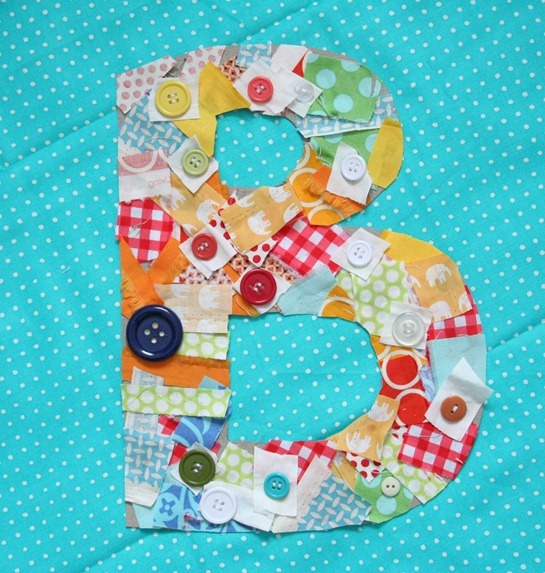
4. You can even use those scraps as a decorative piece like Jaime from Pretty Prudent!

Want something to help you procrastinate? Please follow us on Twitter, Pinterest, Facebook and/or comment below on things you'd like me to feature or talk about!
~Yasmine
However you got them, you're now left looking for a way to store them. Luckily, I was able to stack mine in our linen closet, but you can try these tricks if your home is even smaller than mine.
1. Shelves and drawers: The simplest solution is to fold them nicely and place them in shelves or drawers. This might require you to find new homes or donate whatever was in that space to begin with but now you've got a little sanctuary for your fabric. Make sure to keep like with like. Try not to mix cottons with polyesters. You can even take it a step further and sort them by color or theme.
2. Under the bed storage: Although we didn't use these for fabric, we use them for items that don't get used in the current season. For example, under our bed, our container holds our heavy sweaters for winter. You can get them anywhere like Walmart.
4. You can even use those scraps as a decorative piece like Jaime from Pretty Prudent!
Have any other ideas for storing fabric? Leave them in the comments below or post them to our Facebook page!
~Yasmine
Monday, August 5, 2013
How To Sew A French Seam
A French Seam is the perfect way to hide those unwanted fraying edges, especially when it comes to delicate or see through fabrics in things like lingerie. It's a pretty easy seam to create but please steer away from using it in curves as I've found that it often bunches.

Step 1: With your two pieces of fabric, make sure that the wrong sides (the inside part of the fabric) are facing each other and sew a 1/4" seam. Backstitch as needed.
Step 2: I then cut the seam to only 1/8" and fold the fabric right sides facing each other.
Step 3: Sew a 1/4" seam. You're done!
You've created a pocket that holds the fraying edge in place so that your project looks great, inside and out. Watch out video to see more details on how I sewed the sample piece. I suggest practicing on scraps first.
A lot of folks vary the size of the initial seam but as long as you find what's comfortable for you, you'll be fine!
Want something to help you procrastinate? Please follow us on Twitter, Pinterest, Facebook and/or comment below on things you'd like me to feature or talk about!
~Yasmine
Friday, August 2, 2013
Friday Favorites: Pillowcases, Fabric Scraps, and Zippers
We've got tutorials, ideas on what to do with those pesky scraps, and a sneak peak at the zipper tutorial I'll be following next week!

Want something to help you procrastinate? Please follow us on Twitter, Pinterest, Facebook and/or comment below on things you'd like me to feature or talk about!
~Yasmine
Sewing your own pillowcases can bring fun and your own personality to any room! I recently found this tutorial on how to make your own pillowcases (for bedroom pillows) to spruce up your home. It seems really easy to follow and perfect for beginners (no curves!).
Here's an additional video for you to see:
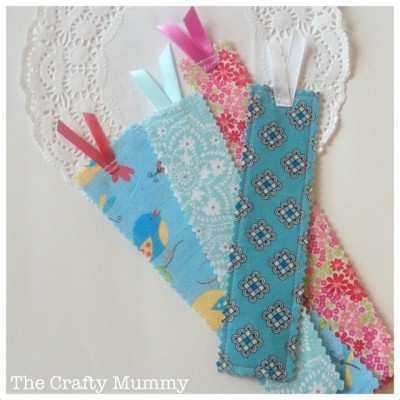
Fabric scraps can sometimes take up a lot of room and make you confused as what to do with them. I found a couple of fun ideas on what to do with these pesky scraps. The best part? They can all take a day or less!

A grab and go snack bag!
A lovely kid's project!
Bookmarks!
Zippers. These can be very hard for some to sew on. I'll be creating something small (using all those pesky scraps) while following a zipper sewing tutorial!
Want something to help you procrastinate? Please follow us on Twitter, Pinterest, Facebook and/or comment below on things you'd like me to feature or talk about!
~Yasmine
Friday, July 26, 2013
Friday Favorites: Sabra, Wallet Patterns, and a Scrap Fabric Pillow
From a post by Sabra to our new video featuring a pillow sewed with scrap Fabric, it's been quite a week! We even have a new wallet pattern available for you to try your hand at!
Sabra has posted her update and boy, has she been busy! She used this pattern to make these lovely wallets!


Sabra: "I must say the Wonder Wallet pattern by Lazy Girl Designs is one of my favorites! It's so fast and easy, and uses so little fabric, I make one to go with every purse from the scraps I have left over. I also love that they hold loose change, and the change doesn't fall out!"
Here's an image of the pattern. It's available at Fabriclovers.

A special thanks goes to Joan from Lazy Girl Designs! She mentioned us on her Facebook and Twitter pages. Check out her Facebook page!
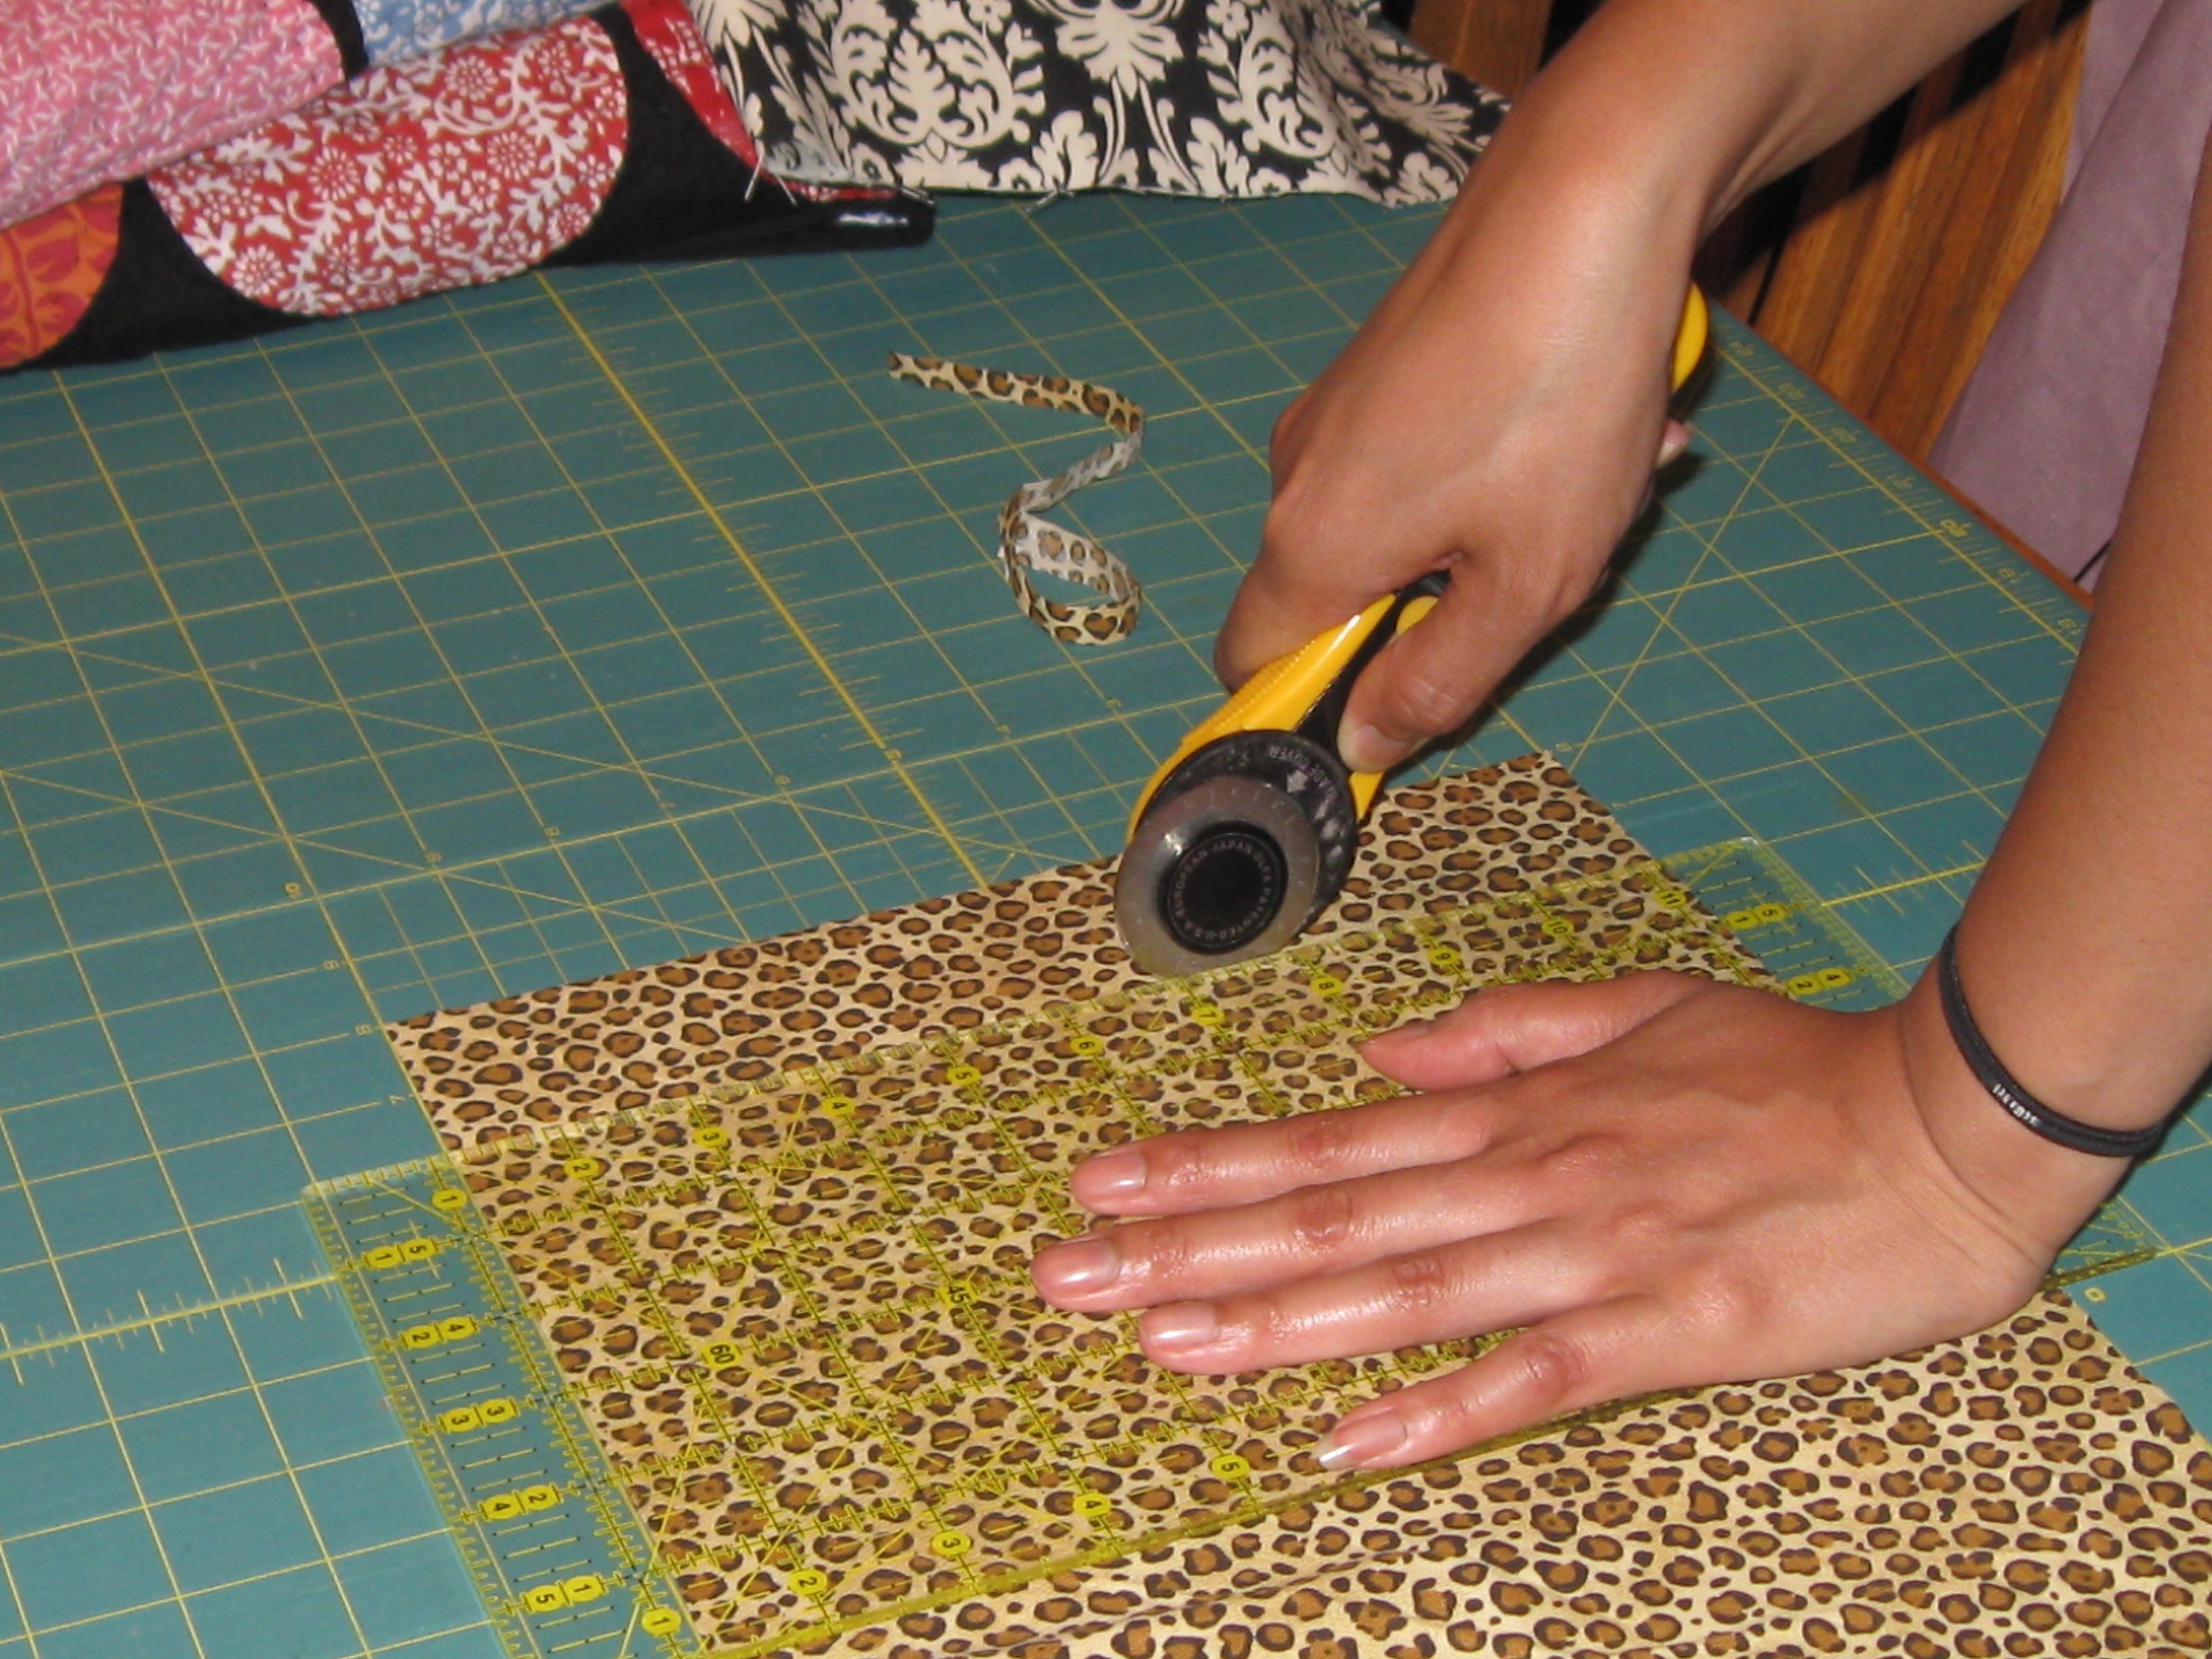
Another thanks goes to one of our fans for pointing out that the image used in our Rotary Cutter post was wrong. Please see her video on how to properly hold a cutter without hurting yourself.
I've finished my second project. I created a pillow using the scraps left over from my very first quilt. You can see the video detailing the finishing touches below.
Want something to help you procrastinate? Please follow us on Twitter, Pinterest, Facebook and/or comment below on things you'd like me to feature or talk about!
~Yasmine
Sabra has posted her update and boy, has she been busy! She used this pattern to make these lovely wallets!
Sabra: "I must say the Wonder Wallet pattern by Lazy Girl Designs is one of my favorites! It's so fast and easy, and uses so little fabric, I make one to go with every purse from the scraps I have left over. I also love that they hold loose change, and the change doesn't fall out!"
Here's an image of the pattern. It's available at Fabriclovers.
A special thanks goes to Joan from Lazy Girl Designs! She mentioned us on her Facebook and Twitter pages. Check out her Facebook page!
Another thanks goes to one of our fans for pointing out that the image used in our Rotary Cutter post was wrong. Please see her video on how to properly hold a cutter without hurting yourself.
I've finished my second project. I created a pillow using the scraps left over from my very first quilt. You can see the video detailing the finishing touches below.
Want something to help you procrastinate? Please follow us on Twitter, Pinterest, Facebook and/or comment below on things you'd like me to feature or talk about!
~Yasmine
Thursday, July 25, 2013
What's Sabra Up To Now?
Hi everyone! Even though it’s been a few months since FabricLovers has transitioned from my hands to the new owners’ hands, I wanted to “pop in” and let you know what has been going on.
 |
| Wonder Wallet for Mexico |
 |
| Love my Wonder Wallets! |

 |
| Tried some fancy trim and stitches |
For my two newest purses, I thought the pink fabric would be perfect for our frequent trips to Mexico, plus I just loved the colors of the main print. I made the purple purse for our most recent trip to Costa Rica. Most of this fabric has been sitting in my closet for at least a year, so I’m happy to finally give it a new home!


One of the reasons we decided it
was time to transition out of FabricLovers is that my husband and I will be
moving to Costa Rica in four years—we’re just waiting for our youngest to
graduate high school. We’ve fallen in love with Costa Rica, and have started up
a new venture helping people discover how to live better for less in that
beautiful country. That’s where our focus is now, and we’d love to have you
stay in touch with us, and share in our journey, on our Facebook page,
Blog, and/or Website. I know many of you already have, and it’s so
special to see familiar faces—thanks! Also, we’re holding a Sweepstakes now through August 7th, so be sure to head over to our Facebook page
and click on the “Win A Happier Book” icon to enter!
We just got back from another trip to Costa Rica, and thought you might enjoy this video we took at an animal rescue center there. The video is of our daughter and her friend holding baby Capuchin and Howler monkeys--and it ends with a surprise!
Well, that’s it for now, but I’m sure it won’t be the last
you’ll be hearing from me as I will be commenting occasionally on the FabricLovers blog or Facebook
page. I look forward to continued interaction with all of you!
---Sabra
Wednesday, July 24, 2013
Scrap Fabric Pillow: Finished!
My pillow made of leftover fabric is finished! I really enjoyed this simple sewing project and can't wait to get started on more.
Here's the video on how I stuffed and closed the pillow. As always, if you have any suggestions on what I can do better, let me know. I'm learning to sew as I go and could use a few tricks that are probably up your sleeve!
Wondering how I started making the scrap fabric pillow? Check out the first video:
I loved this sewing project because, unlike the quilt, it only took me two sessions, was made with leftovers from a previous project, and can be used anywhere in the house, from the sofa to my daughter's room! The floral design isn't overwhelming and I just adore the baby pink and lime green on the back.
Want something to help you procrastinate? Please follow us on Twitter, Pinterest, Facebook and/or comment below on things you'd like me to feature or talk about!
~Yasmine
Monday, July 22, 2013
Rotary Tool Safety Tips
Since purchasing my first rotary cutter, I realized that there's a lot of safety concerns when using it. A rotary cutter is perfect for streamlining the prep work before beginning to sew. Similar to a prep chef having sharp knives to cut the veggies and meats before the actual cooking gets started.
1. Purchase one with a safety. I didn't see any without a safety switch when I went to purchase mine but if you're in a hurry, you might get one without it. Don't do it! A safety shield will help prevent unwanted emergencies, especially if you have kids, animals, or even a roommate who wasn't paying attention.
2. Keep the safety shield closed, when not in use. I found that I have a bad habit of leaving it open after making a few cuts. This is bad. I wouldn't want to accidentally brush my hand on the blade and get cut. It's good practice to keep it closed after making a cut. There are some rotary cutters on the market that have a sort of trigger that you hold when cutting and release when finished. It pushes the blade out and in automatically.
3. Handle replacement blades properly. I haven't had to replace a blade yet but I already know to be careful. When in college, the students were constructing an elaborate project in which we used foam core. I used an exacto blade and continuously changed the dull blade without being careful. Needless to say, my foot was not happy about stepping on one of them. Be careful! Apparently many cutter blades are replaced by taking the nut and washer off. I will likely be wrapping masking take on the edges to avoid cutting myself while changing the blade.
4. Dispose of the rotary blades properly. Don't just toss them in the garbage! Wrap them up in paper and heavy duty tape or, if available, put them in the plastic container that the replacement blades came in. Place them in a trash can where children and pets don't have access.
5. Cut away from yourself and avoid crossing arms. This means you don't cut "backwards" and that you don't hold the ruler (if right-handed with your left hand and cross your arms to cut on the left side of the ruler. Simply turn the fabric and reposition.
6. Cut while standing. I found that it was ten times easier to apply the correct amount of pressure if I was standing.

7. Use a ruler and cutting mat. Don't ruin a decent table top just because you didn't want to get a cutting board. You also want a ruler to help guide your cut as well as keep it straight.
8. Watch your fingers!
Have any tips of your own? Let us know in the comments below and we might show your comment on our Facebook and Twitter!
Want something to help you procrastinate? Please follow us on Twitter, Pinterest, Facebook and/or comment below on things you'd like me to feature or talk about!
~Yasmine
1. Purchase one with a safety. I didn't see any without a safety switch when I went to purchase mine but if you're in a hurry, you might get one without it. Don't do it! A safety shield will help prevent unwanted emergencies, especially if you have kids, animals, or even a roommate who wasn't paying attention.
2. Keep the safety shield closed, when not in use. I found that I have a bad habit of leaving it open after making a few cuts. This is bad. I wouldn't want to accidentally brush my hand on the blade and get cut. It's good practice to keep it closed after making a cut. There are some rotary cutters on the market that have a sort of trigger that you hold when cutting and release when finished. It pushes the blade out and in automatically.
3. Handle replacement blades properly. I haven't had to replace a blade yet but I already know to be careful. When in college, the students were constructing an elaborate project in which we used foam core. I used an exacto blade and continuously changed the dull blade without being careful. Needless to say, my foot was not happy about stepping on one of them. Be careful! Apparently many cutter blades are replaced by taking the nut and washer off. I will likely be wrapping masking take on the edges to avoid cutting myself while changing the blade.
4. Dispose of the rotary blades properly. Don't just toss them in the garbage! Wrap them up in paper and heavy duty tape or, if available, put them in the plastic container that the replacement blades came in. Place them in a trash can where children and pets don't have access.
5. Cut away from yourself and avoid crossing arms. This means you don't cut "backwards" and that you don't hold the ruler (if right-handed with your left hand and cross your arms to cut on the left side of the ruler. Simply turn the fabric and reposition.
6. Cut while standing. I found that it was ten times easier to apply the correct amount of pressure if I was standing.
7. Use a ruler and cutting mat. Don't ruin a decent table top just because you didn't want to get a cutting board. You also want a ruler to help guide your cut as well as keep it straight.
8. Watch your fingers!
Have any tips of your own? Let us know in the comments below and we might show your comment on our Facebook and Twitter!
Want something to help you procrastinate? Please follow us on Twitter, Pinterest, Facebook and/or comment below on things you'd like me to feature or talk about!
~Yasmine
Subscribe to:
Posts (Atom)