Saturday, August 24, 2013

How to Sew a Flat-Felled Seam


Do you need a strong seam that will hide the fraying edge of the fabric? The Flat-Felled Seam is perfect for this because unlike a French Seam, it uses a double line of thread to hold the piece together versus just one. The flat-felled theme is typically used in sports garments since they require extra strength and reversible garments because it's a finished edge on both sides.


1. To begin the flat-felled seam, place the fabric pieces on your sewing table or surface with the wrong sides together. In the video you can see I marked mine with a "W" to show which side was the wrong side. If your fabric doesn't have a wrong side, even better! I used some scrap fabric but if you're using large pieces, it may be helpful to pin everything in place.

2. Sew a plain seam (I used 5/8 inch seam allowance) and then press it to one side. I then fold over both those edges and sew a seam of about 1/4 inch. While folding it over I ironed to to keep it in place. You can also pin your fabric if that helps.

3. Using the needle as a sewing guide, stitch the edge of the fold through all the layers of the fabric.

And your done! I haven't tried to do this type of seam on a curve but would imagine it be too hard and get too bulky. One thing I did wrong is not holding both sides out enough when sewing step 3. As you can see in the image, the fabric on one side bunches somewhat.


This seam is fairly simple and provides a great finished edge for many projects. Now you don't have to work around those fraying edges!

What do you think? Did I miss anything? If you have any questions or tips, please don't hesitate to comment or email me at Yasmine@FabricLovers.com

Wednesday, August 7, 2013

How to Store Fabric

I tend to be the kind of girl that tosses her clothes onto the bedroom chair and lets it get higher than the rockies before actually putting it away. Same goes with fabric scraps. You know, those pieces of fabric that you can't really toss but can't really see yourself making a project with yet. Or maybe, like me, you get gifted fabric scraps from friends who are cleaning out their basements.


However you got them, you're now left looking for a way to store them. Luckily, I was able to stack mine in our linen closet, but you can try these tricks if your home is even smaller than mine.

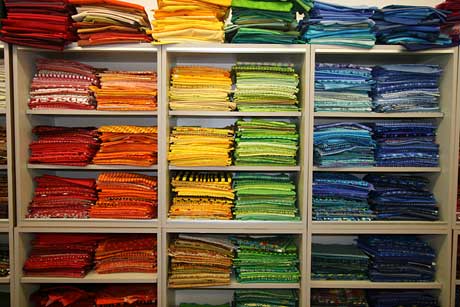
1. Shelves and drawers: The simplest solution is to fold them nicely and place them in shelves or drawers. This might require you to find new homes or donate whatever was in that space to begin with but now you've got a little sanctuary for your fabric. Make sure to keep like with like. Try not to mix cottons with polyesters. You can even take it a step further and sort them by color or theme.


2. Under the bed storage: Although we didn't use these for fabric, we use them for items that don't get used in the current season. For example, under our bed, our container holds our heavy sweaters for winter. You can get them anywhere like Walmart.
3. If you're really into sewing, you might want to create some mini bolts like Missy from The Little Green Bean.

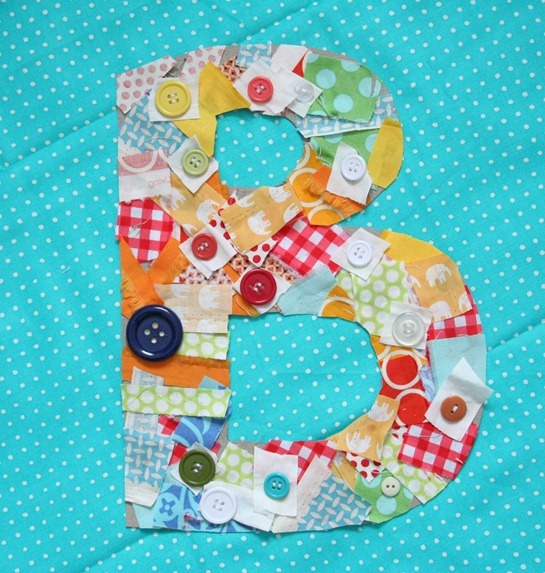
4. You can even use those scraps as a decorative piece like Jaime from Pretty Prudent!


Have any other ideas for storing fabric? Leave them in the comments below or post them to our Facebook page!

Want something to help you procrastinate? Please follow us on TwitterPinterestFacebook and/or comment below on things you'd like me to feature or talk about!
~Yasmine

Monday, August 5, 2013

How To Sew A French Seam

A French Seam is the perfect way to hide those unwanted fraying edges, especially when it comes to delicate or see through fabrics in things like lingerie. It's a pretty easy seam to create but please steer away from using it in curves as I've found that it often bunches.


Step 1: With your two pieces of fabric, make sure that the wrong sides (the inside part of the fabric) are facing each other and sew a 1/4" seam. Backstitch as needed.

Step 2: I then cut the seam to only 1/8" and fold the fabric right sides facing each other.

Step 3: Sew a 1/4" seam. You're done!

You've created a pocket that holds the fraying edge in place so that your project looks great, inside and out. Watch out video to see more details on how I sewed the sample piece. I suggest practicing on scraps first.


A lot of folks vary the size of the initial seam but as long as you find what's comfortable for you, you'll be fine!

Want something to help you procrastinate? Please follow us on TwitterPinterestFacebook and/or comment below on things you'd like me to feature or talk about!
~Yasmine

Friday, August 2, 2013

Friday Favorites: Pillowcases, Fabric Scraps, and Zippers

We've got tutorials, ideas on what to do with those pesky scraps, and a sneak peak at the zipper tutorial I'll be following next week!


Sewing your own pillowcases can bring fun and your own personality to any room! I recently found this tutorial on how to make your own pillowcases (for bedroom pillows) to spruce up your home. It seems really easy to follow and perfect for beginners (no curves!).

Here's an additional video for you to see:


Fabric scraps can sometimes take up a lot of room and make you confused as what to do with them. I found a couple of fun ideas on what to do with these pesky scraps. The best part? They can all take a day or less!
A grab and go snack bag!

A lovely kid's project!

Bookmarks!

Zippers. These can be very hard for some to sew on. I'll be creating something small (using all those pesky scraps) while following a zipper sewing tutorial!


Want something to help you procrastinate? Please follow us on TwitterPinterestFacebook and/or comment below on things you'd like me to feature or talk about!
~Yasmine