Since purchasing my first rotary cutter, I realized that there's a lot of safety concerns when using it. A rotary cutter is perfect for streamlining the prep work before beginning to sew. Similar to a prep chef having sharp knives to cut the veggies and meats before the actual cooking gets started.
1. Purchase one with a safety. I didn't see any without a safety switch when I went to purchase mine but if you're in a hurry, you might get one without it. Don't do it! A safety shield will help prevent unwanted emergencies, especially if you have kids, animals, or even a roommate who wasn't paying attention.
2. Keep the safety shield closed, when not in use. I found that I have a bad habit of leaving it open after making a few cuts. This is bad. I wouldn't want to accidentally brush my hand on the blade and get cut. It's good practice to keep it closed after making a cut. There are some rotary cutters on the market that have a sort of trigger that you hold when cutting and release when finished. It pushes the blade out and in automatically.
3. Handle replacement blades properly. I haven't had to replace a blade yet but I already know to be careful. When in college, the students were constructing an elaborate project in which we used foam core. I used an exacto blade and continuously changed the dull blade without being careful. Needless to say, my foot was not happy about stepping on one of them. Be careful! Apparently many cutter blades are replaced by taking the nut and washer off. I will likely be wrapping masking take on the edges to avoid cutting myself while changing the blade.
4. Dispose of the rotary blades properly. Don't just toss them in the garbage! Wrap them up in paper and heavy duty tape or, if available, put them in the plastic container that the replacement blades came in. Place them in a trash can where children and pets don't have access.
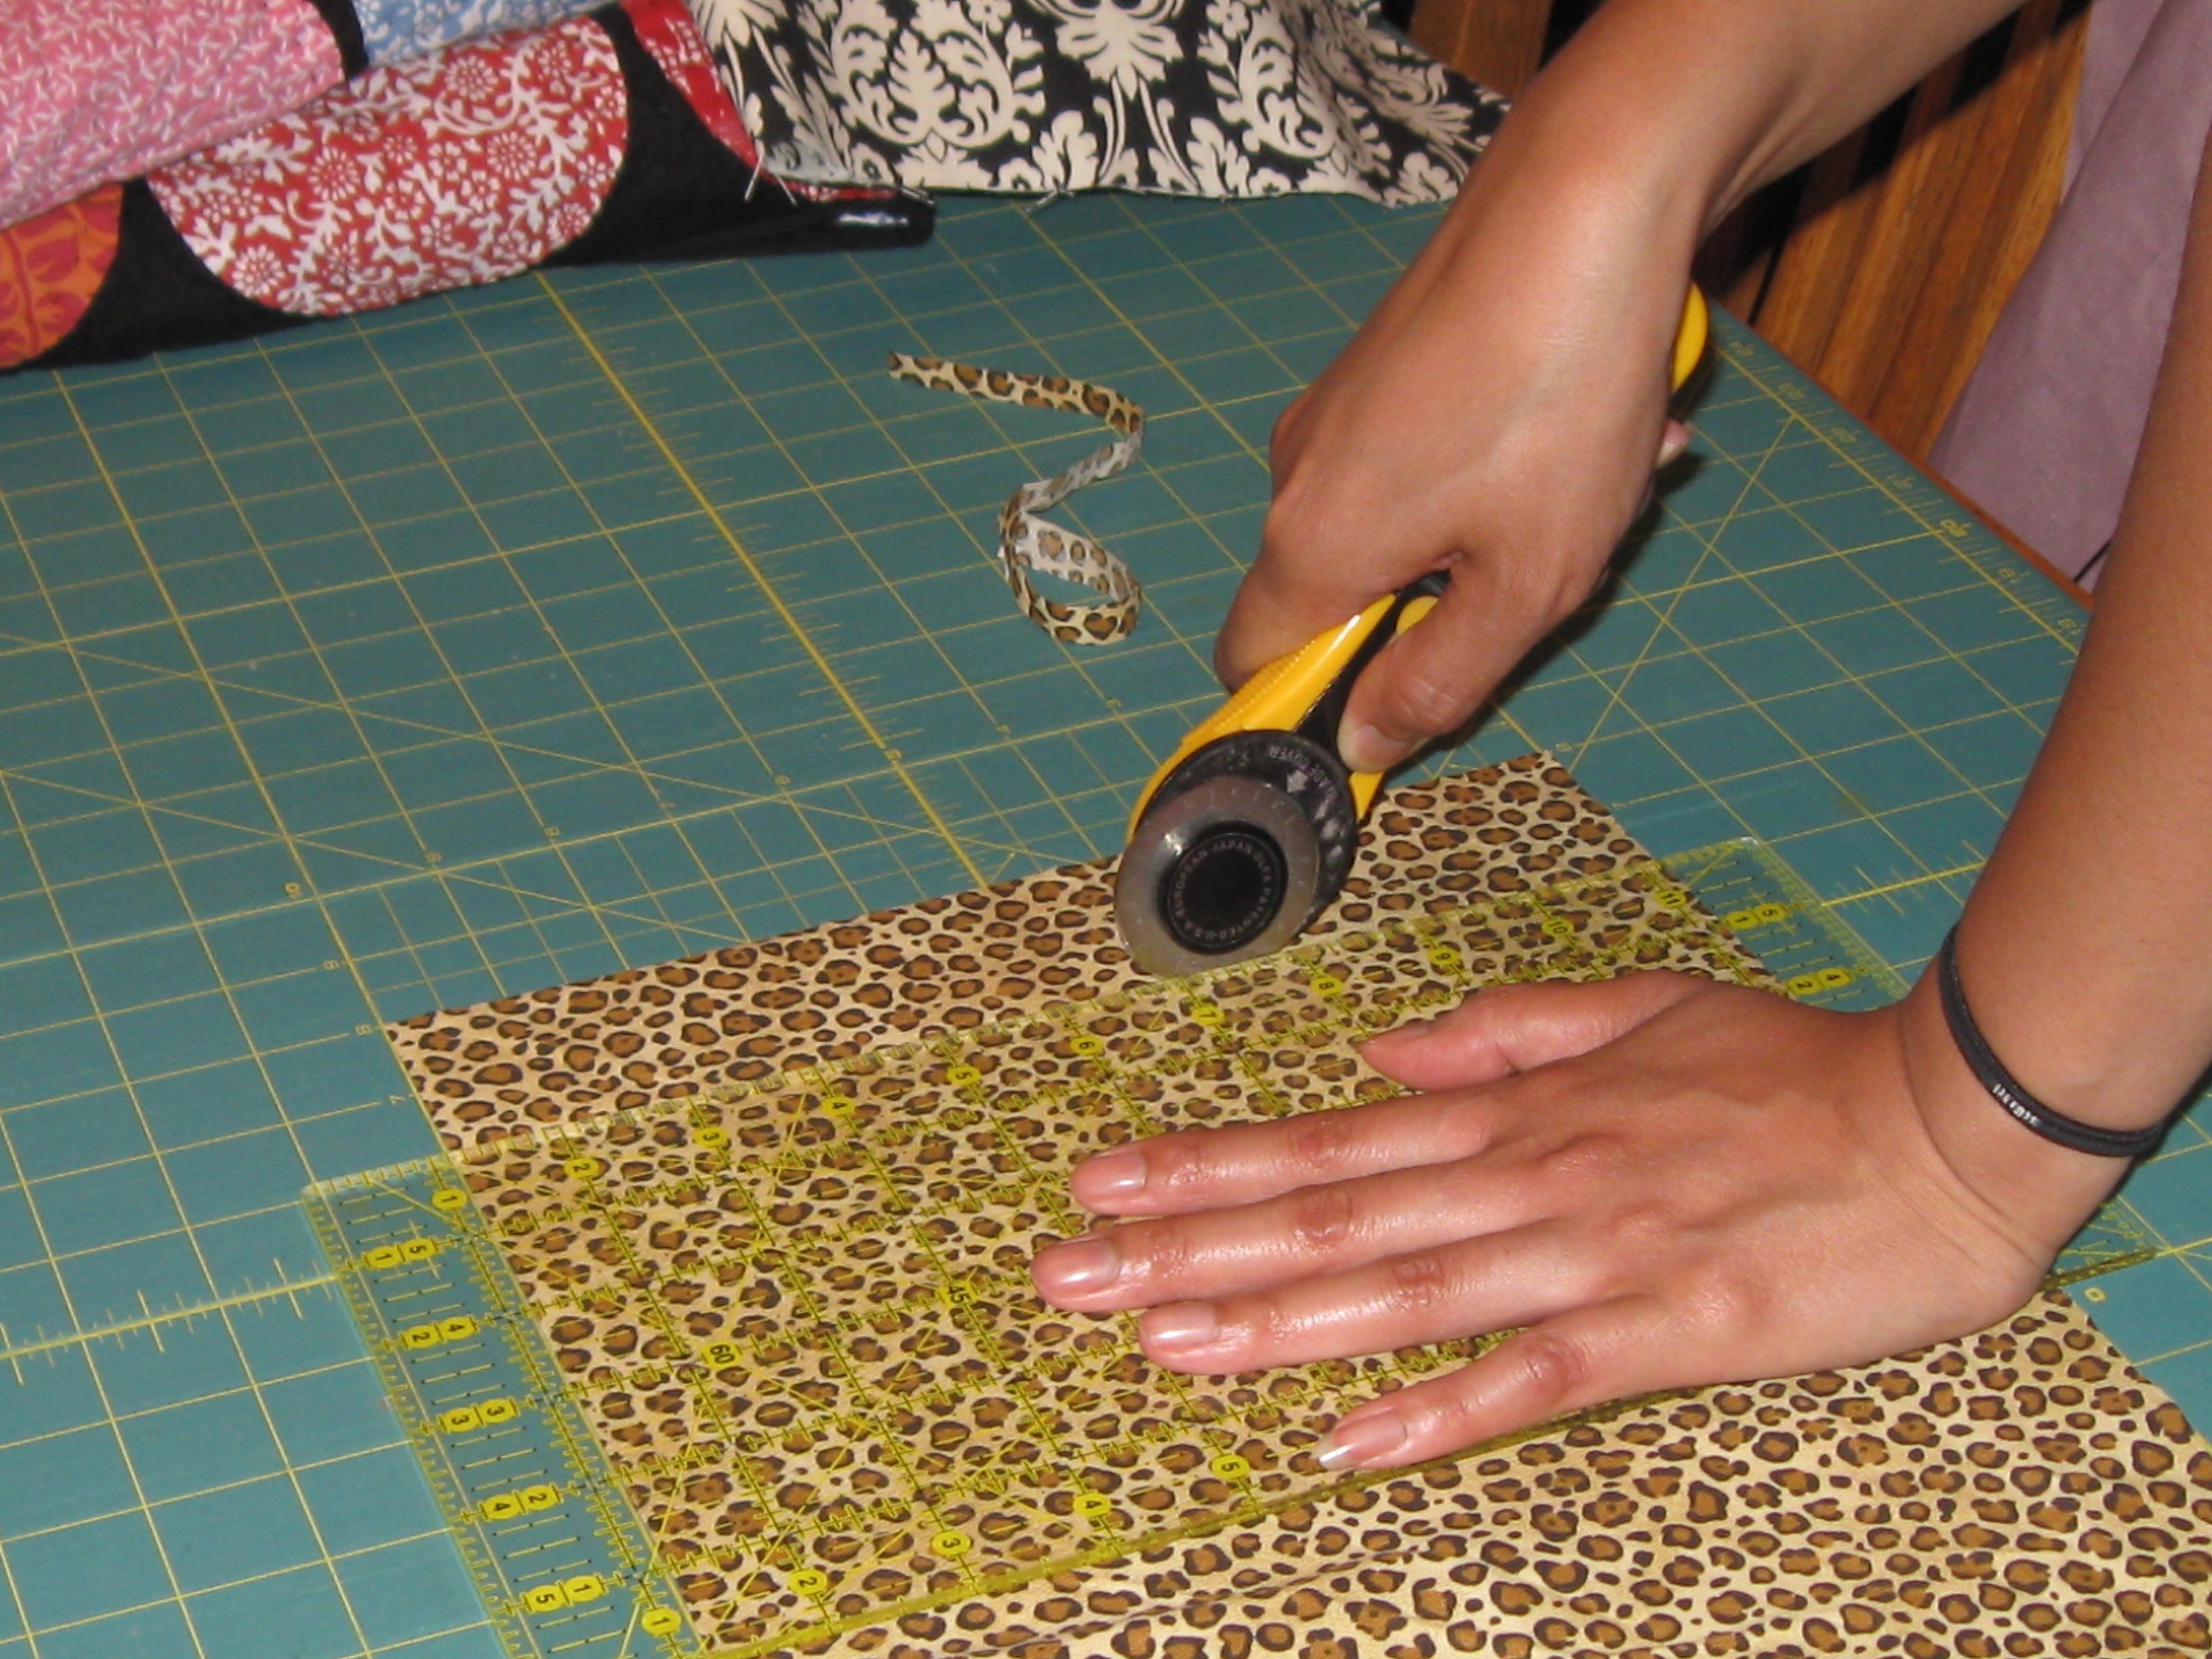
5. Cut away from yourself and avoid crossing arms. This means you don't cut "backwards" and that you don't hold the ruler (if right-handed with your left hand and cross your arms to cut on the left side of the ruler. Simply turn the fabric and reposition.
6. Cut while standing. I found that it was ten times easier to apply the correct amount of pressure if I was standing.
7. Use a ruler and cutting mat. Don't ruin a decent table top just because you didn't want to get a cutting board. You also want a ruler to help guide your cut as well as keep it straight.
8. Watch your fingers!
Have any tips of your own? Let us know in the comments below and we might show your comment on our Facebook and Twitter!
Want something to help you procrastinate? Please follow us on
Twitter,
Pinterest,
Facebook and/or comment below on things you'd like me to feature or talk about!
~Yasmine